I had noticed the numerous apple trees at work but had never realised there were some damson trees in the orchard until last week. The proliferation of wasps drew me to the plum trees were I found a feast of greengage, plum, damson and pear trees. Almost no one was picking the fruit and huge quantities of it were going to waste so I picked a bag full in my evening break and began googling recipes.
Damson's are not as sweet and appetising raw as they are cooked or processed. The most popular recipes were Damson cheese, jam, gin and brandy. Having just made 3 jars of Spiced Apple Chutney to accompany cheese I didn't really fancy a Damson Cheese, so jam it was.
1.5kg of Damsons (with stones)
1.2kg of Sugar (I used granulated as it is cheaper and this was not a problem at all)
200ml water
Easy...
First off, put a small plate in the freezer and get your jam jars ready (see the bottom for sterilizing them.
 |
| De Stoning the Damsons |
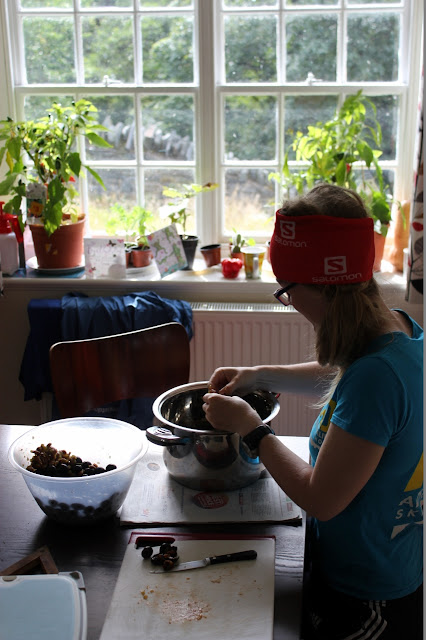
Ruling out the, boil the fruit to get the stones out, then miss one because you always do, and crack my tooth, I opted for cutting the stones out. The first ten went well and then it was suggested that I should just squeeze them out - this was infinitely quicker and easier. I can't think why more recipes don't suggest it!
After this simmer the fruit with the water then add the sugar and let it dissolve. A good check is to put some of the back of your wooden spoon and see if any sugar granules are on it.
 |
| Checking the sugar has all dissolved (in the picture the 'grainy' looking bits are actually small air bubbles on the spoon, so double check it by tasting it! |
Once ready let it cool off the hob for 10 minutes and then pour into your jars (a ladle is handy for this)
Then eat it - although it does give you quite a sugar high if you eat too much!
Note on sterilizing jam jars:
I now have a collection of Kilner jars but still reuse some old jam jars. Both jars work, however the Kilner type jars are worth the investment if you will be doing lots of jam and chutney making. Wash them with soapy water and then put them in the oven at 180degrees.


No comments:
Post a Comment